


I was into photography well before every smartphone shipped with an image-capturing device, aka a camera. I remember my dad capturing all of our family memories on an Olympus OM 30 SLR film camera using a gorgeous 50mm prime lens. Those were the days, and the times that he let me have a go were a real treat.
After owning a number of compact cameras, the first DSLR camera that I bought was a Canon 6D. It’s a camera that I still love getting out for special occasions, but most of the time, though, I’m snapping away just like everyone else: on my trusty smartphone.
The problem with doing this is that many of us have traded quality for convenience. We’re happy with sub-par photos that lack framing, good exposure, and accurate colors. The reasons for this are varied, but many people don’t know that with a few simple changes you can capture professional-looking shots with the very same phone.
I’ve collated five of my top tips for taking your photography to a whole new level, and better yet, you don’t need to invest in any new kit or part with any cash to take full advantage of them. Sure, if you’d like to buy a phone camera lens or invest in a paid-for camera app, then you’ll improve your photography even more, but for now let’s focus on what we can do right now with very little effort.
For this article I’m using an old Samsung Galaxy A51 to show that even with a six-year-old phone, you can take cracking photos. So, here we go. Five tips to instantly supercharge your Android phone photography.
1. Take HDR photos
If you’ve ever noticed parts of your photo lacking detail in the dark areas or ‘blowing out’ in the bright, then you’ll know how frustrating it can be. Unfortunately it’s not always possible to control lighting conditions, especially when you’re trying to capture that special memory that disappears as quickly as it appears, but there is something you can do.
To overcome this, you need to start taking HDR photos. HDR stands for high dynamic range and relates to the detail that’s captured across the whole range of colors, especially in bright and dark areas. In essence, the wider your dynamic range, the more information you’ll have in your photo. As a result, you’ll notice your photos have an increased vibrancy and a greater sense of depth.
Achieving this is as simple as going into your camera settings and toggling on ‘Auto HDR’. This setting is located in my general settings, but you might find it under shooting modes, scene modes, or a similar category. That’s it. Start taking photos and enjoy how much better they are.
2. Use Pro settings
By default, your phone’s camera app will display the most basic camera settings, including a flash toggle, aspect ratio adjustment, and some basic filters. This is likely only half of what your Android phone is capable of, though.
By going into ‘Pro’ mode you’ll be able to access a wider range of camera settings, including exposure, ISO, shutter speed, and white balance. These are all settings that are found on DSLRs and let you fine-tune how the camera behaves and responds to light.
Don’t be put off by how complex it looks. Let’s take a quick look at each setting in turn. The exposure adjusts how much light enters the lens. So, if you’re in a very dark room, then you’ll want to increase the exposure. Keep in mind that this might introduce some visual noise into the dark areas.
The ISO setting adjusts how sensitive your camera’s sensor is to light. The higher the value, the more sensitive it’ll be, and therefore the brighter your image. Again, this might introduce noise. The shutter speed changes how quickly the lens opens and closes. The longer it’s open, the more light that can hit the sensor; watch out for motion blur here though.
The final setting is the white balance, which lets you adjust what the camera perceives to be white. You can get creative with this setting or simply adjust it to get an accurate output. I recommend playing around with these settings, and you’ll quickly get the hang of them.
3. Avoid digital zoom
If you own one of the best phones, then you might have multiple lenses, an optical zoom lens, or even some high-end AI tech able to upscale your zoomed-in photos. If you don’t have the luxury of any of these, then you’ll be tempted to perform a digital zoom instead.
I know how it goes, and I’ve been there just like you. You see something cool happening across the room or in the distance, and you don’t want to get up from your comfy chair, so you pinch zoom and magically find that your subject is perfectly framed just the way you like. Brilliant… er…. not so much.
The problem is that when you do this, you’re actually reducing the resolution and quality of the resulting photo. Often you’ll also get unwanted visual noise in the low-light areas. I’d highly recommend avoiding this at all costs.
So, next time you’re tempted to use your two fingers for a convenient zoom, why not jump up, get a little closer, and frame it like a pro?
4. Frame your shot like a photographer
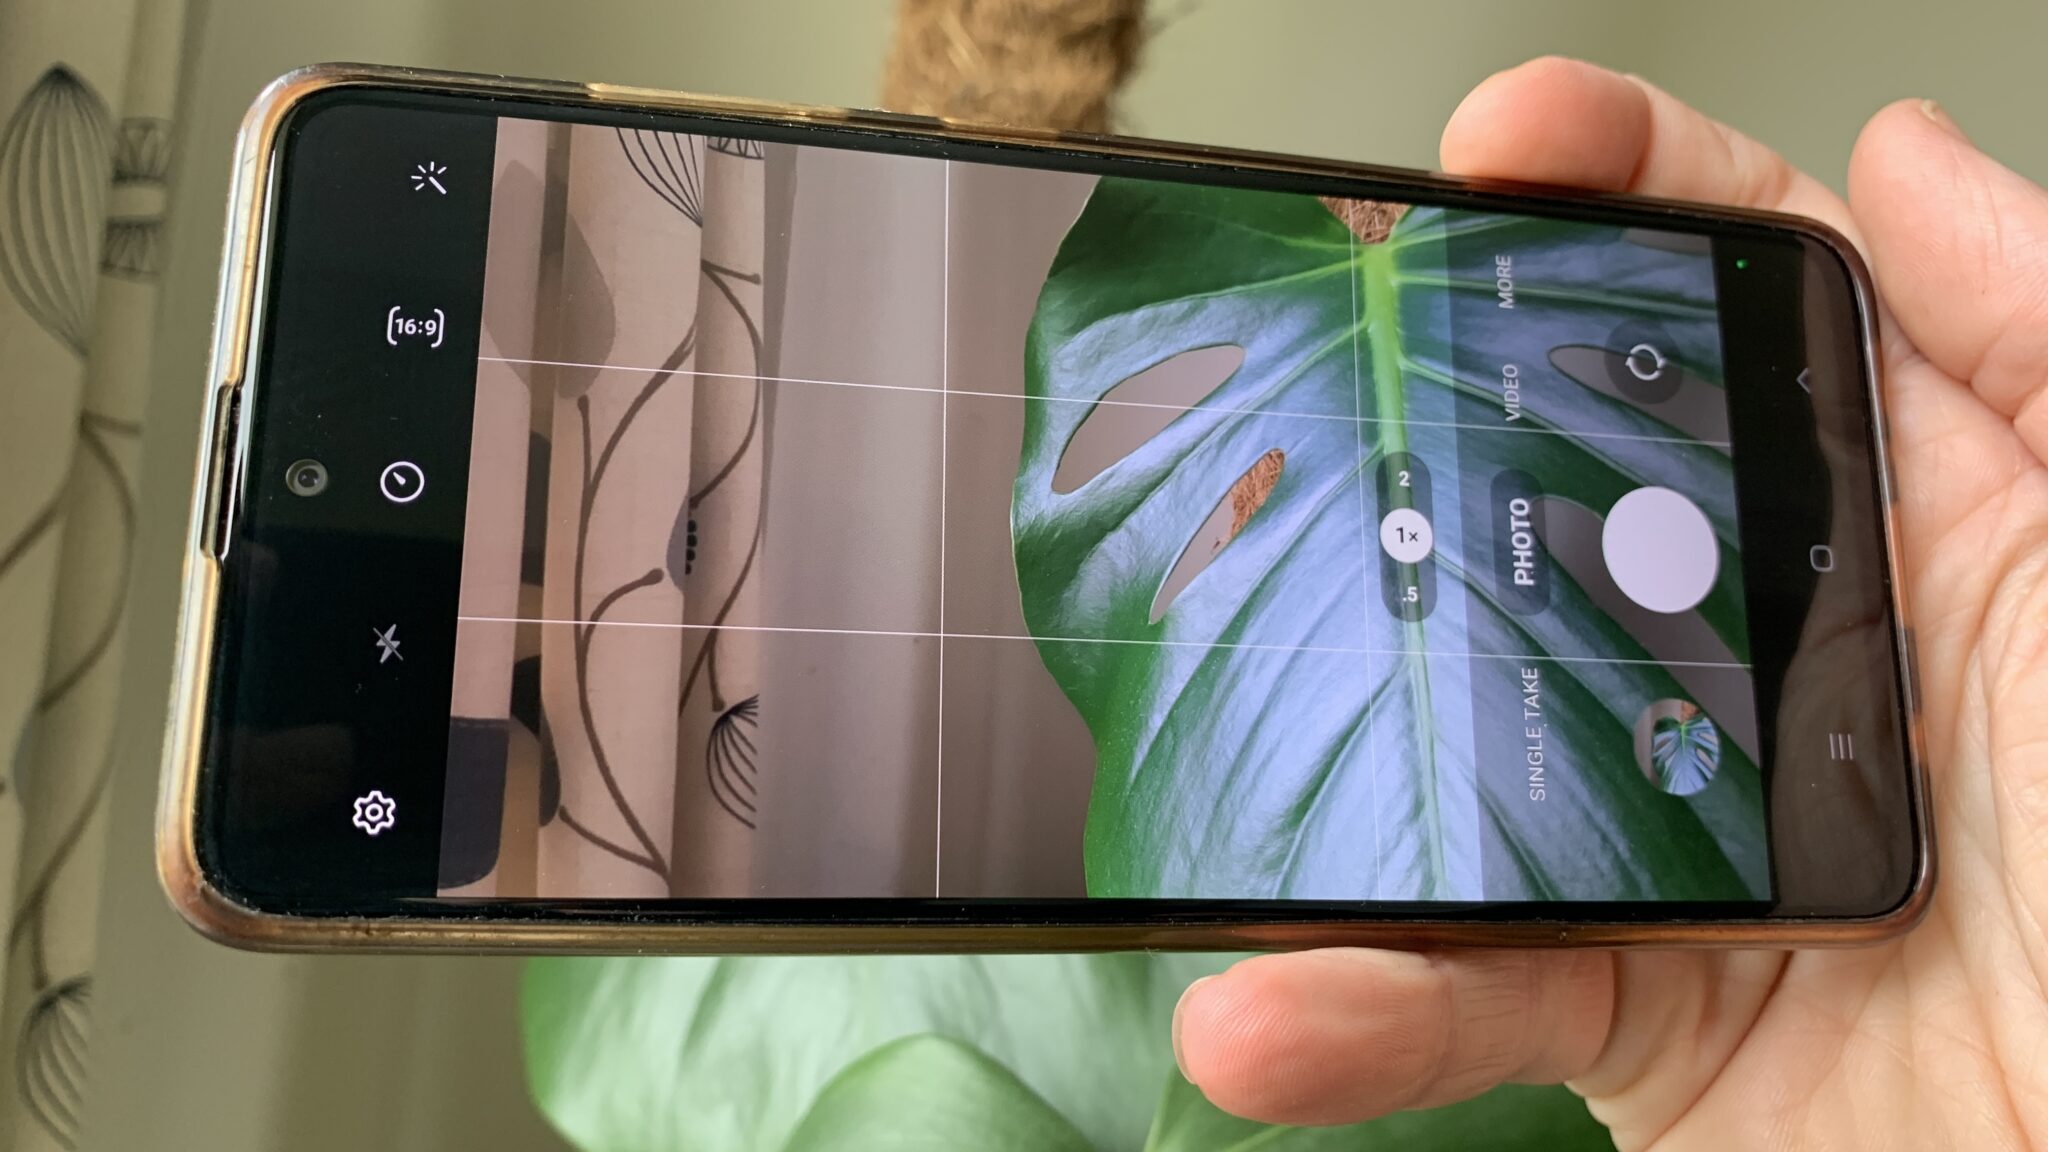
One of the easiest ways to improve your phone photography is to adopt simple framing techniques such as the rule of thirds. This is most easily achieved by turning on gridlines in your camera’s settings, which will bring up two horizontal and two vertical lines, essentially splitting the frame up into nine boxes.
The simplest way to implement this rule is to frame your shot so that you have your subject located on one of the two vertical lines. This often results in more pleasing shot than locating a subject centrally or unnaturally far off to the edge. The gridlines will also help you better balance a shot so that the final photo is pleasant to look at.
5. Use a free camera app
I said in the introduction that you won’t have to part with any money and invest in paid-for camera apps, but that doesn’t mean there aren’t plenty of free camera apps out there! One of my favorites is the Open Camera app, which is 100% free and as feature-rich as most people could ever need.
In the app you’ll find a range of features and controls, including manual settings, HDR photography, and focus stacking, making it an ideal choice for anyone wanting more control over their photos.
I especially love the HDR mode and noise reduction feature, which helps to manage unwanted noise when pushing the dynamic range of the camera. It’s also incredibly easy to use, which is perfect for beginners and amateurs.
Read the full article here