


Why you can trust TechRadar
We spend hours testing every product or service we review, so you can be sure you’re buying the best. Find out more about how we test.
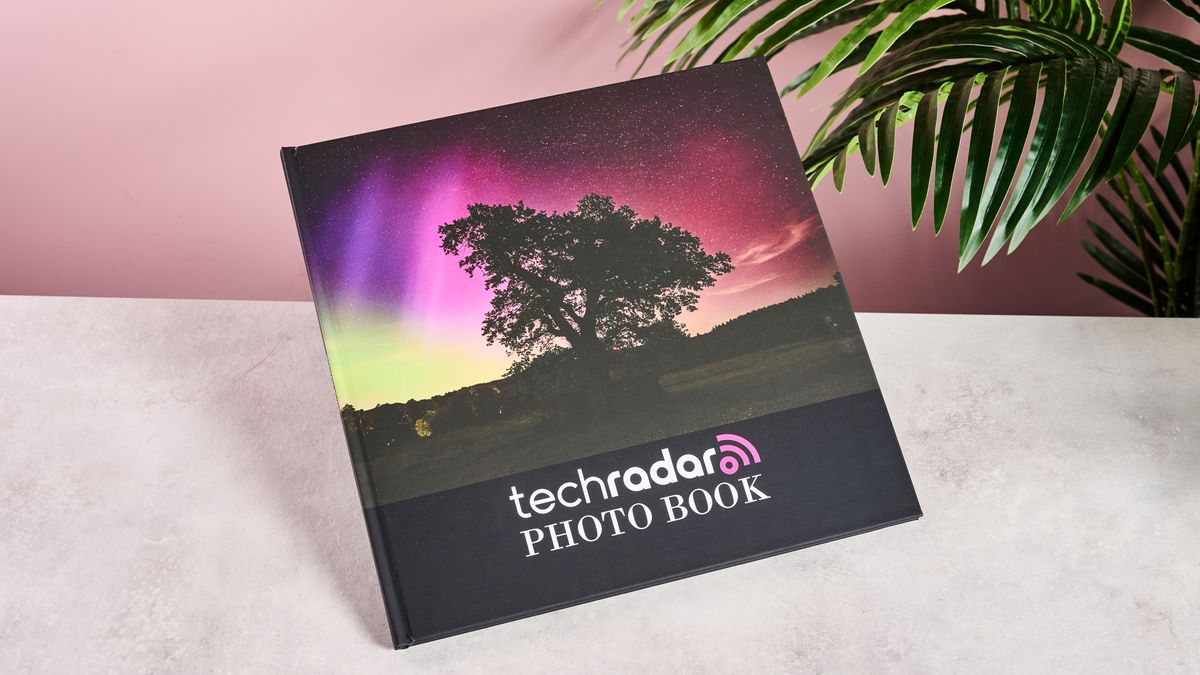
Snapfish photo book review
Snapfish offers a vast range of customizable keepsakes and gifting items in over 30 countries including the US, the UK, and Australia. Customizing Snapfish photo books can be pretty simple thanks to a selection of ready-made templates, but my focus was on how easy it would be to add a TechRadar twist to see whether the design interface and resulting print quality are suitable for something a little more creative.
When reviewing different services, we always order a 12 x 12-inch matte hardcover standard-bound photo book. This configuration from Snapfish included twenty 200gsm satin finish pages as standard for a list price of $74.99 / £38.99 / AU$89.95, with the option to add two-page spreads for $2.49 / £1.99 / AU$2.90 each. Our finished book required four additional spreads, bringing the overall total to $84.95 / £46.95 / AU$101.55. Snapfish appears to offer regular deals and it’s always worth keeping an eye out for any banners or pop-ups, as in my experience they don’t apply the offers automatically at checkout if missed.
One thing Snapfish had in abundance was tutorial videos, which I’m sure would prove helpful for some. However, as someone who has used many of the best photo book services, as well as professional design software, I’d rather it had just been an intuitive process, rather than something I’d need to revise for.
The Snapfish photo book builder is fairly basic, but it’s not straightforward to use. Tools and settings are limited: there is a top toolbar for saving, zooming, and adding or viewing pages, and a toolbar on the right of the design area, with photo, background, and embellish tabs. There was no tab or dedicated sidebar to offer a quick view of the spreads; instead, I had to click on the All Pages icon or click the zoom out button three times.
Speaking of zoom, the Snapfish builder had frustratingly poor zoom and navigation control. There were simple zoom-in and out buttons with a range of just three clicks, meaning the page was either smaller than I wanted or so large I had to use the browser’s scroll bars to move around. I found the “large view” icon at the bottom of the page more convenient, as it increased the page size so that the page height filled the available space, but a manual zoom bar would have been more convenient.
Adding photos was a fairly simple process, but after uploading my first batch of photos I spotted a little “upload preferences” button on the bottom right of the screen. Hidden within this menu, I found the option to upload my photos in standard or full resolution, for no extra cost. Snapfish had this set to standard by default, which is pretty cheeky.
When dragging photos or elements onto the page, it wasn’t possible to know the exact dimensions, so any sizing had to be done by eye. Moving the photos within their frames was simple enough, but increasing or decreasing the size was controlled by a zoom bar, which proved fiddly at times.
I was really pleased to find that guidelines would pop up on the pages as I worked. However, I practically had to move the image pixel by pixel until I hit the right spot, as images and elements wouldn’t snap onto any of the guidelines. On a more positive note, some features I found really useful were the object alignment and size matching options, which popped up whenever I selected more than one element.
It proved particularly tricky to replicate our TechRadar photo book template in the Snapfish builder. While there are around 135 background colors to choose between, other low-cost printing services such as Mixbook offer custom color options from color sliders and hex codes, making it a better choice if you want your photo book to match your branding.
The lack of color options was even more apparent when it came to replicating the colored blocks that accompanied some of our photos. There was no option to apply a chosen color to simple shapes, so I needed to find the best match by searching through the elements. This still didn’t prove the quick fix I’d hoped for though, as the shapes were all fixed ratio, forcing me to hide the excess behind the neighboring images or a white shape.
I found text boxes to be another source of frustration throughout this process. There wasn’t a huge range of fonts to choose from, but this did become somewhat of a blessing when I found I couldn’t find a font by typing it in, having to scroll through the list instead. Fortunately, however, recently used fonts were saved at the top of the list, making it easy to switch between a select few.
Initially, I thought the font size was limited to 30, however, I discovered that larger sizes aren’t shown if the text box is too small. This way of restricting the text to the bounding box also proved frustrating when trying to resize text boxes to help with alignment, as the font size subtly reduced on occasion if I made the box a little too small.
You may notice I stated 30, rather than 30pt: this is because the font sizes aren’t standardized, meaning a size 30 in one font could be half the size of another. This may not be the end of the world if you’re creating a photo book to reminisce over fond memories, but if you’re trying to make something cohesive, this makes life much harder.
Once I’d arranged each spread as close to the TechRadar photobook template as possible, I clicked the Review and Buy button. I was warned of a low-resolution photo, something I’d already been made aware of thanks to a warning that appeared on the image itself after I’d placed it on the page. However, it neglected to warn me about images going over the edges of the page, or if an image wasn’t within the bleed margin, which would have saved some errors on the printed article.
After confirming I was comfortable to proceed, I had the opportunity to preview my finished photo book. I was really quite impressed with the way Snapfish presented it; unlike other photo book services I’ve used that show a flat spread, Snapfish shows the pages as if they are in a standard bound photo book, so I could see the effect the spine would have on the photos that spanned over two pages.
Delivery times will vary depending on location, time of year, and demand, but in my case, I ordered my Snapfish photo book on a Wednesday, opting to pay £6.99 for priority, and received it the following Monday. If I’d paid for second-class postage the latest advised delivery date would have only been another two days wait. The photo book arrived in a plastic wrapper inside a simple cardboard outer; despite the plastic protection, there was still a fair bit of debris on the front and back cover, although this was likely worse than usual due to the soft matte finish and dark coloring.
Speaking of the finish on the Snapfish photo book’s cover, it was lovely and soft to the touch, but I would recommend against it if you want a dark cover or if the book will be handled regularly. My Snapfish photo book ended up with lots of marks and fingerprints from just a few hours of viewing and photography, despite being handled carefully, and they proved difficult to remove without leaving evidence of the cleanup attempt.
As the outer lines of the pages on the Snapfish builder were thick blue, and there were no warnings when images went into or over the bleed area, I found one of my images fell short of the edge of the page. This was tricky for me to see on the Snapfish builder, even when looking for it specifically, so this highlights the need for a better zoom function, clear outer bleed margins, and a better warning system that flags when an image is not placed optimally.
It was noticeable that the larger prints were slightly wonky on some pages, as the space between the images and the edge of the page wasn’t consistent in width. I couldn’t help but question the print tolerance too, as it became apparent that the inner border must have been the “outer” bleed line, despite being shown within the page on the Snapfish builder and there being no warnings when my images crossed these boundaries. The image was well within the edge of the page, but the finished result looked like an error.
The cover image of my Snapfish photo book was noticeably darker than the original photo, and to all four of the photo books I was comparing it against. The print lacked the intense vibrancy and detail present on the other photo book covers, which I assume is due to the image being printed onto the black background without any underprinting to preserve the colors.
The color of the printed images inside the book looked fine in isolation, and the print quality seemed acceptable for the price, but they were undoubtedly lower in quality when I compared them to the same photos in the similarly priced Blurb photo book we reviewed. This was especially noticeable when it came to color blending, as the colors of the sky in the Snapfish example showed posterization, leading to obvious steps between colors rather than the colors smoothly blending together, as they did in the same print in the Blurb photo book.
Overall, it’s hard to recommend the Snapfish photo book over one from a competitor like Blurb. The only exception to this would be if it’s on sale, as I could have bought my book for less than £30 if I’d taken advantage of the 40% offer, or if a quick turnaround is key. In my case, a few weeks before Mother’s Day in England, the Snapfish photo book was manufactured in the UK and was in my hands in less than a week. If you’d like to explore offerings from other photo book services, I’d recommend taking a look at our pick of the best photo books.
Should I buy the Snapfish photo book?
Buy it if…
Don’t buy it if…
Snapfish photo book review: also consider
How I tested the Snapfish photo book
- I created a photo book from scratch to recreate our TechRadar photo book
- I explored the Snapfish Builder, testing the different features and tools
- I ordered a photo book and assessed the quality of the finished product
I spent time testing out the different features in the Snapfish builder, seeing how easy their pre-made elements were to use, and the different elements they included for free. I also investigated other services providing photo books to compare prices and features.
I started with a blank canvas and used the tools available to recreate our TechRadar photo book. Recreating an existing design is important so that we can assess how capable the different services are when faced with different requirements.
I ordered my completed photo book and evaluated the finished product, paying close attention to quality, print finish, and alignment, and kept a close eye for any imperfections.
Read the full article here