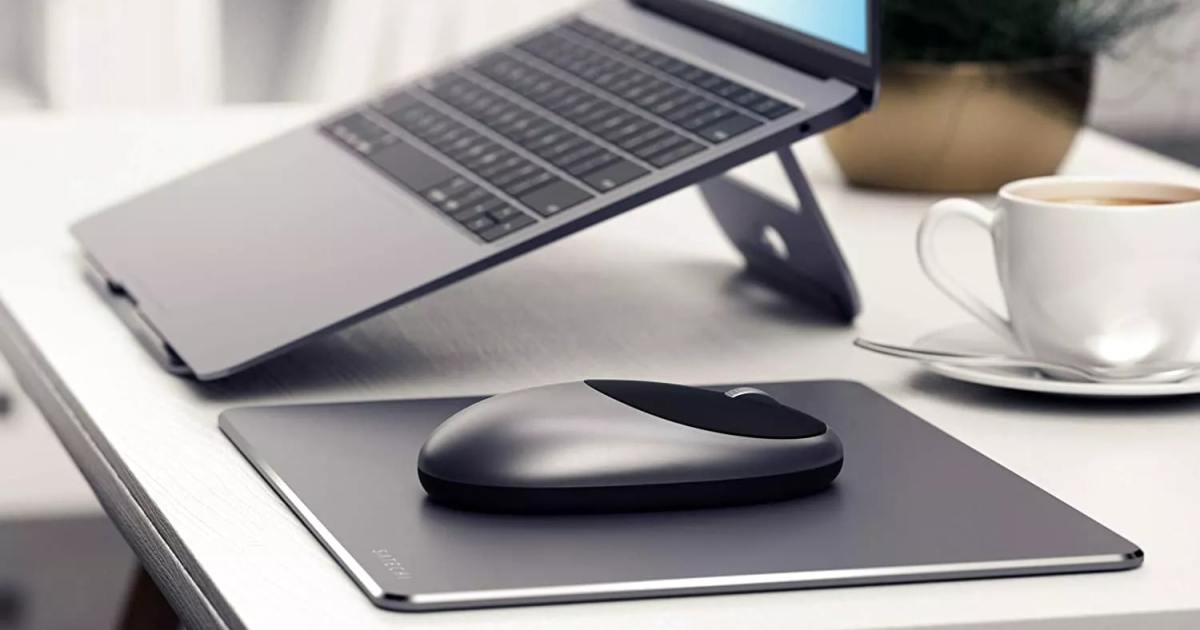
While the best laptops come with an efficient and responsive touchpad, they’re rarely useful for gaming. What you need is a wireless mouse.
To connect a wireless mouse to your laptop, you’ll need to pair it using Bluetooth, or connect it to the bespoke USB receiver it came with. You can even connect it to multiple devices using each method, making it straightforward to jump between them.
Here’s how to connect a wireless mouse to your laptop.
How to connect a wireless mouse using its USB receiver
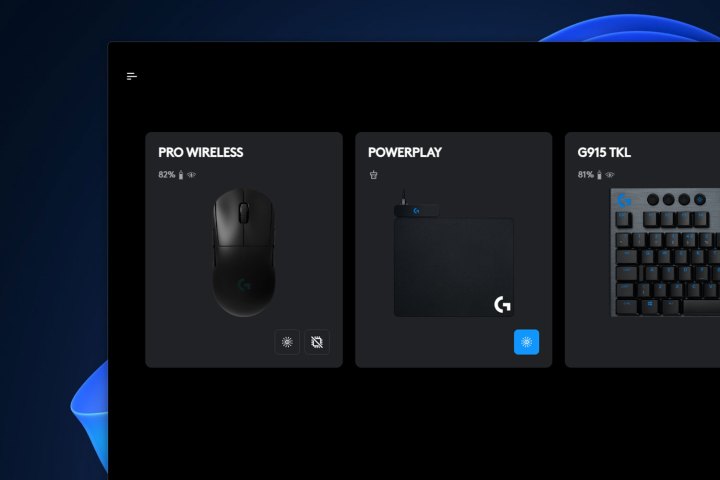
Most high-end wireless mice and wireless gaming mice come with their own USB receiver. This lets the mouse communicate with your PC at a lower latency than Bluetooth and with less chance of interference with the signal.
Step 1: Plug the USB receiver into a free USB port on your laptop. If you don’t have a compatible USB port, consider buying an adapter or docking station that is compatible with your laptop to expand its port options.
Step 2: It’s possible that Windows or macOS will find the drivers for your USB receiver automatically, but it’s better to download the latest drivers from the manufacturer. Visit the official website for your mouse and search for the drivers there. They may be listed in a Support section.
Ensure you select the right download for your operating system, if necessary.
Step 3: Turn your wireless mouse on. It should connect automatically, but depending on the manufacturer’s software, you may need to open that first.
How to connect a wireless mouse using Bluetooth
Whether your mouse connects primarily using Bluetooth, or also offers Bluetooth support, you can connect it to your laptop in the same way.
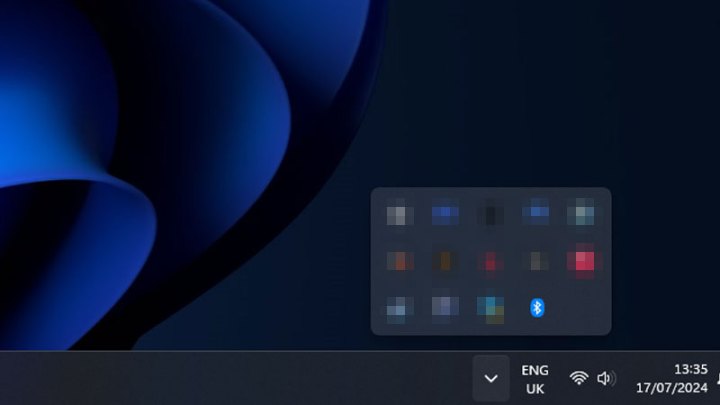
Step 1: Turn your laptop on and open the Bluetooth connection menu. On Windows, you can do this by selecting the arrow in the bottom-right next to the date and time, then double-clicking on the Bluetooth icon. It’s a blue icon with a sort of “B” shape on it.
Alternatively, if Bluetooth is not enabled, you can navigate to Settings > Bluetooth and devices and turn it on from there.
On macOS, select the Apple icon, then System Settings. Then select Bluetooth in the sidebar.
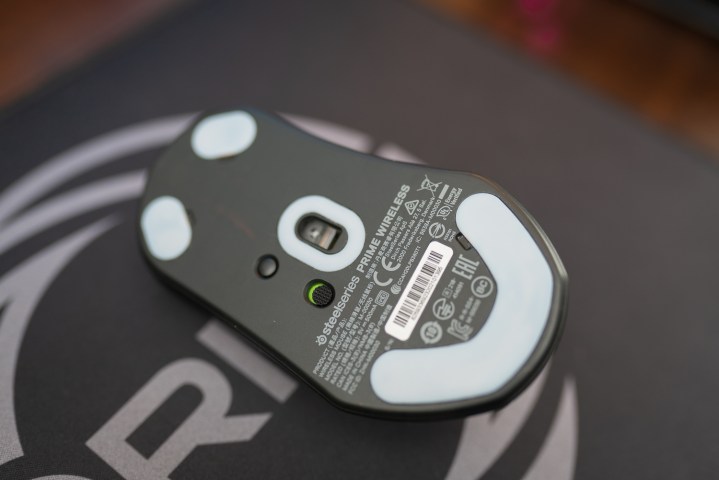
Step 2: Turn your Bluetooth mouse on, and if it has a pairing button, press that too. Consider checking the manual to see if there’s a particular method for entering pairing mode.
Step 3: On Windows, select the Add device button, followed by Bluetooth. When your mouse is found, select it, then select Connect.
On macOS, select the mouse and select Connect. If prompted, select Accept or input a series of numbers, then press Enter.
This method for connecting a wireless mouse to your laptop over Bluetooth is the same as you’d use for a range of Bluetooth devices. Here’s how to connect a Bluetooth speaker.
Other connectivity options are avialable for your laptop. You should also make sure you know how to connect your laptop to a TV.
Read the full article here


