It’s tempting to jump straight into personalizing a new Windows 11 PC — apps, wallpaper, the works. I’ve been there. There’s just something about tweaking a new machine that makes it feel like yours. But before the fun starts, I always take some time to lock down the security settings. It’s a small effort that pays off with peace of mind, especially with so many online threats lurking out there. After all, nothing kills the excitement of a new PC faster than running into a virus or security scare.
Here are the settings I change every time I get a new Windows 11 PC — and why they matter.
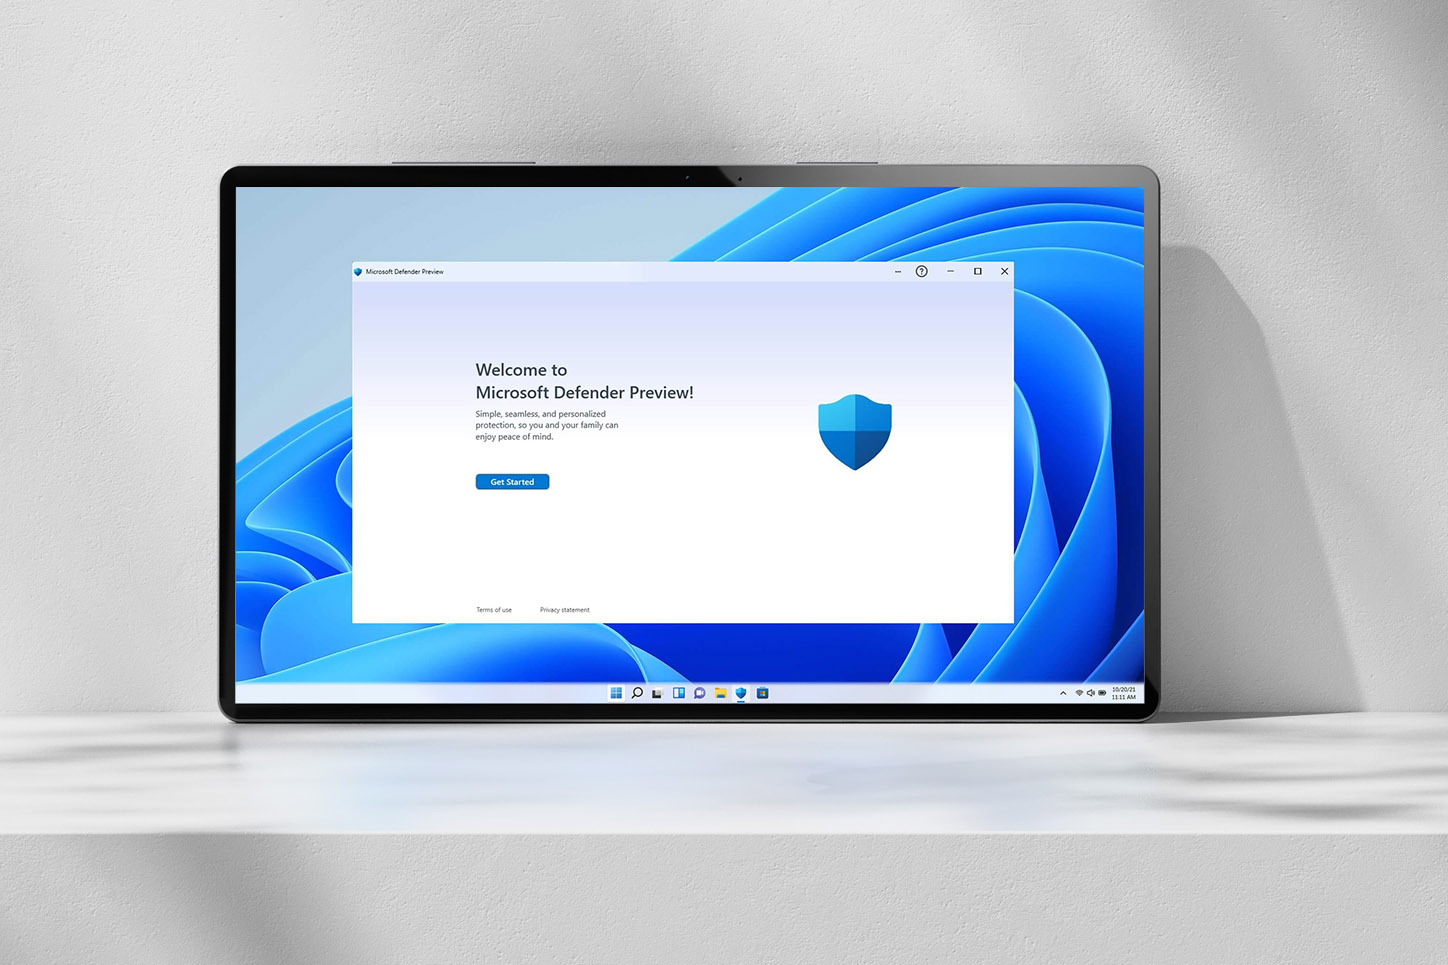
1. Install a trusted antivirus
One of the first things I do on any new Windows 11 PC is install one of the best antivirus programs I can afford. I’ve been using ESET for years, and I’m happy with how it’s kept my PC safe. It’s saved me numerous times from visiting unsafe sites and downloading unsafe files, and I like the Safe Banking and Browsing page where I can get my financial stuff done safely. Those are only a few reasons why I continue to use it after all these years.
I always recommend going with a top-tier antivirus since threats can come from all sorts of places: sketchy email attachments, seemingly harmless pop-ups, even fake browser extensions. That said, no antivirus is perfect in every way. ESET can sometimes be a little too cautious, flagging apps or websites I already trust. But I’d rather deal with a false positive than let something dangerous slip through. Free options are fine for minimal protection, but I prefer the peace of mind that comes with a top-tier option.
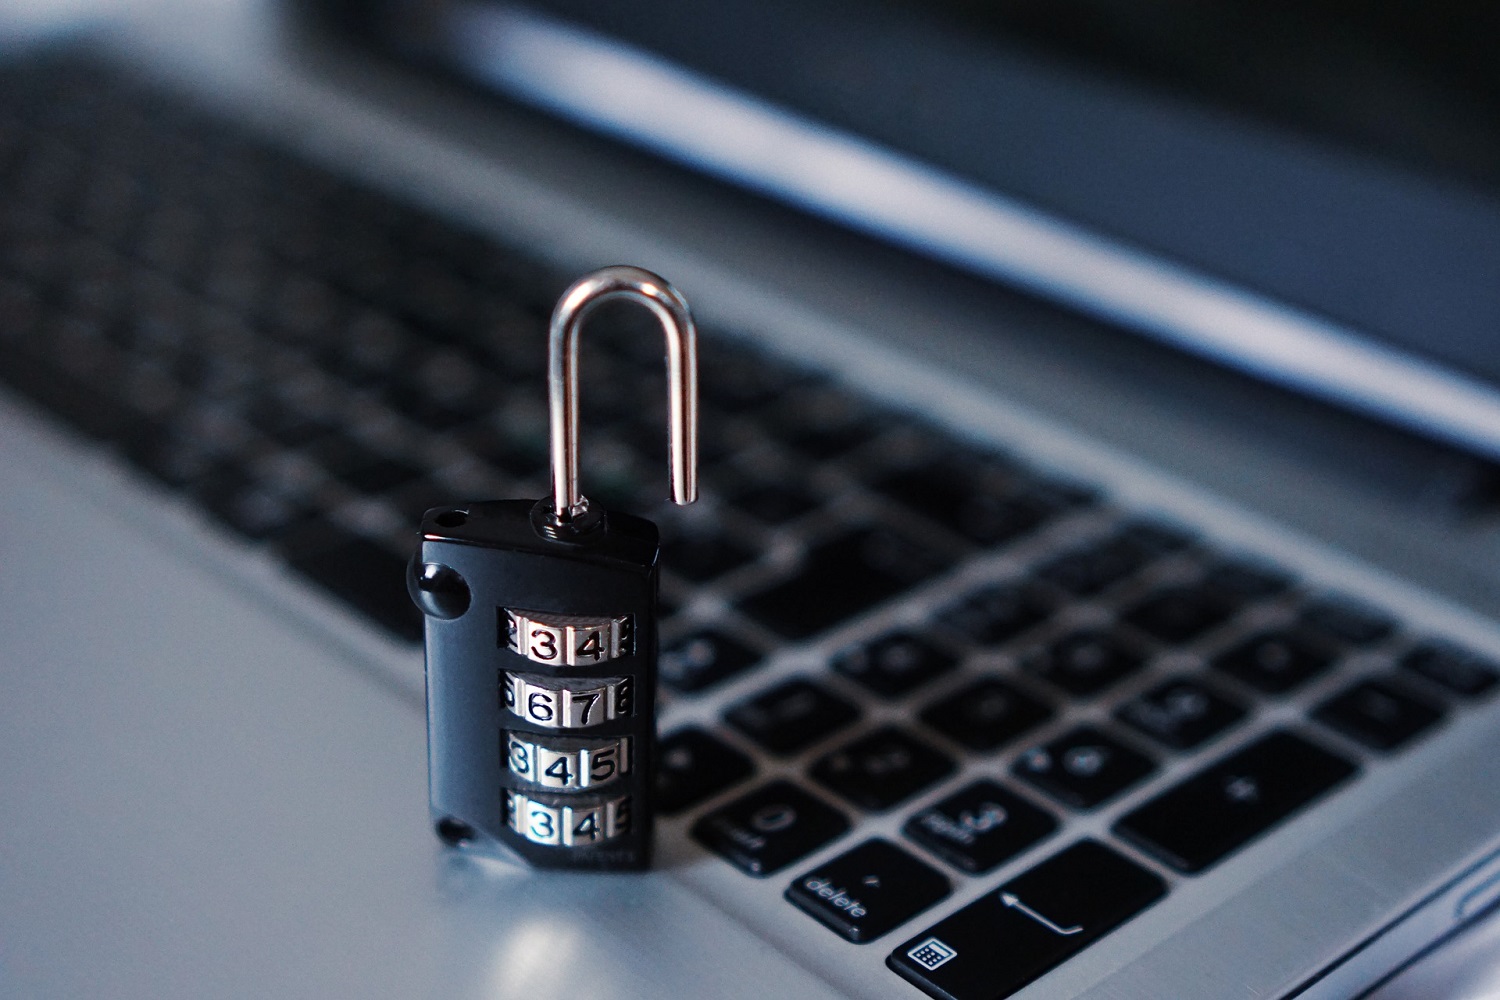
2. Turn off passwordless sign-in
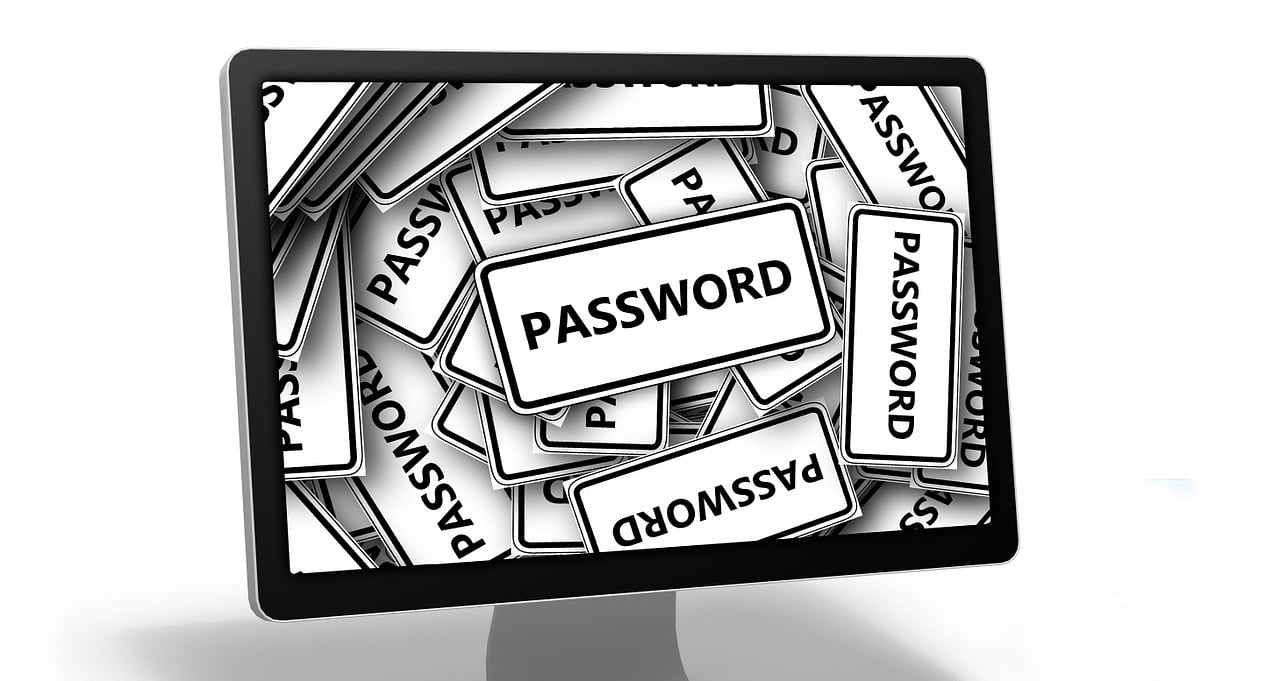
Even though Windows encourages you to set up passwordless sign-in — and I get why, it’s convenient — I always turn it off. This poses a serious security risk. If someone gains physical access to your computer, they can access your files. Even if you live alone, you can take your laptop to a coffee shop or on a trip, and if it’s stolen, whoever took it will have instant access to everything on it. It’s safer to take a moment to create a strong password. You can even use one of the best password managers to help you create one. On my Windows 11 laptop, I still use the fingerprint reader for quick logins — but only as an extra layer, not the only line of defense.
3. Reviewing app permissions
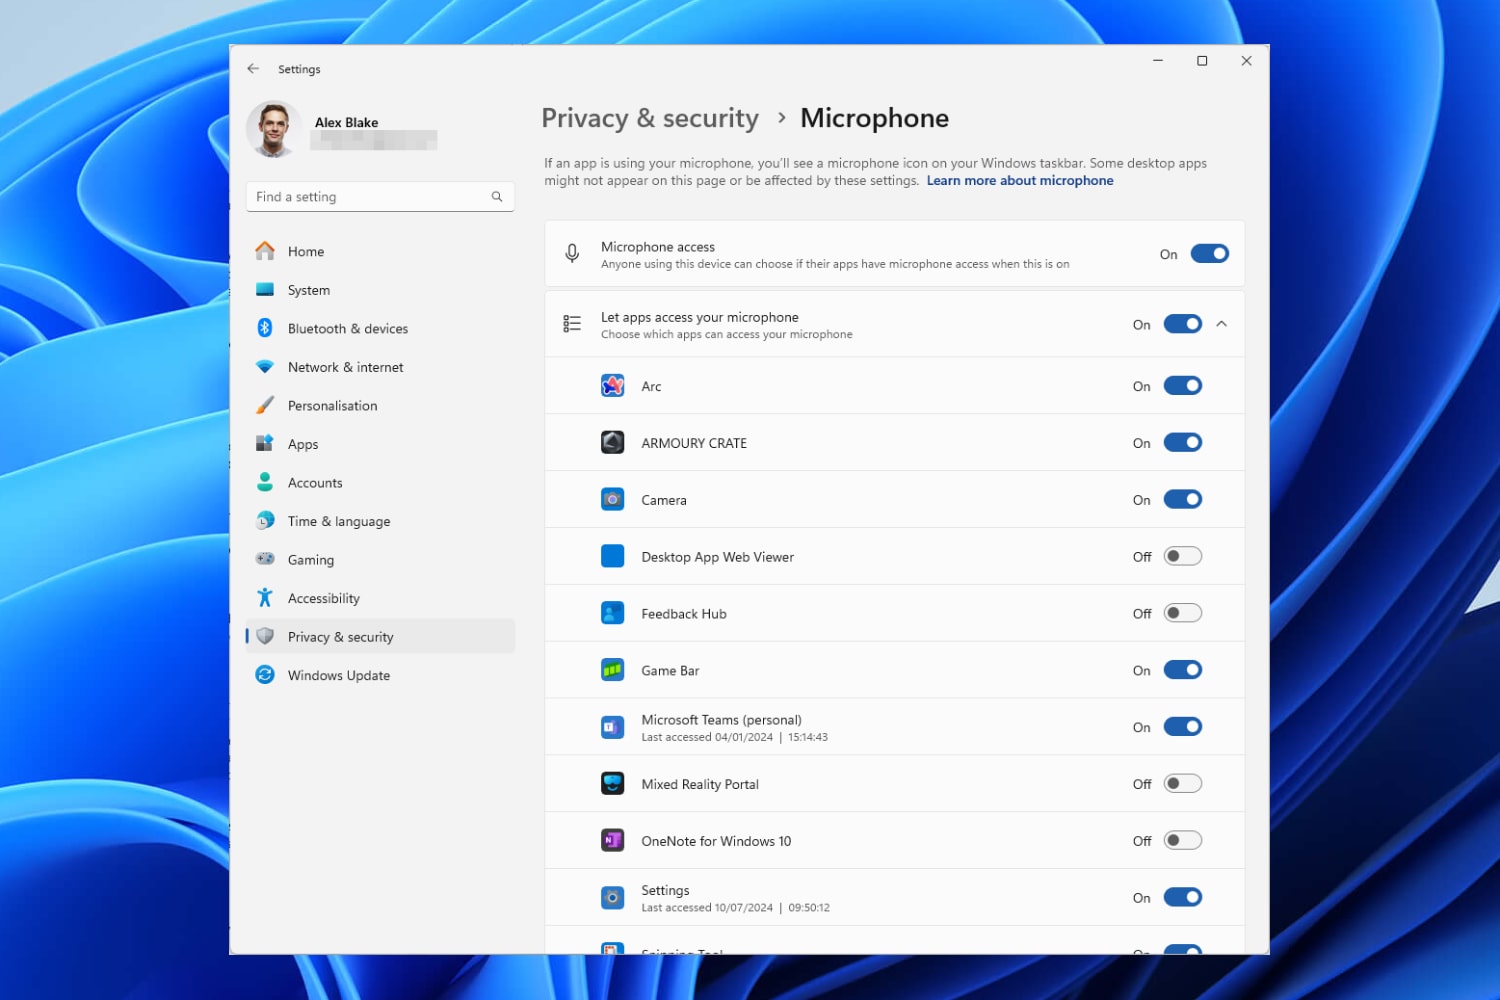
After I’m done with the previous two options, I check to see which apps have access to things like my location, mic, and camera. It’s not uncommon for apps to request more permissions than they need, so checking the app’s permissions is always a good idea. Looking into app permissions can be easy to overlook until you dig into the settings.
On a new Windows 11 PC, go to Settings > Privacy and security, then scroll down to the “App permissions” section. From there, I can manage which apps have access to my mic, location, camera, and other sensitive features. If an app has access and I can’t remember why, I turn it off. Unless it’s an app like Zoom or Maps, there is rarely a good reason for an app to have access to your data by default.
It only takes a few minutes, but doing this gives you better control over what apps can do in the background and helps limit unnecessary data collection. It’s one of those changes that allows your PC to respect your privacy just a little more. Sometimes developers ask for permissions just in case they add a feature to the app that requires that permission. If you have already given it, your user experience won’t be interrupted. Another reason could be that a third-party tool the app relies on needs it. Either way, it’s worth checking so you don’t give away access without even realizing it. Once I saw that a calculator required knowing my location. Um, no thanks.
4. Turning off optical diagnostics data
Whether you turn off optional diagnostic data is a personal choice. Still, I turned it off because I didn’t feel comfortable about it collecting my browsing habits, app usage, and device activity. By default, your PC sends basic information about your system to Microsoft. Still, it also gives you the option to send additional data about how you use system settings, apps, and even sites you visit in Edge. I always turn that off, and if you do too, you can go to Settings > Privacy and Security> Diagnostics and Feedback. Whether you turn it off or not is a personal choice, but I would.
5. Enable BitLocker (if available)
If you’re using Windows 11 Pro, one of the smartest things you can do is turn on BitLocker. It’s a built-in encryption tool that protects the entire drive, meaning if someone steals your laptop, they can’t just remove the hard drive and plug it into another PC to view your files. To find it, go to Settings > Privacy and security, then scroll down and look under the Related settings section for BitLocker Drive Encryption. If it’s available, but not yet enabled, it’s worth turning on. Just be sure to back up your recovery key in a safe place, since you’ll need it if you ever get locked out. Even if losing your laptop feels unlikely, it only takes one unexpected moment. I’d rather spend a few minutes setting up encryption than worry about my files falling into the wrong hands.
Keeping your PC safe
Most users only think about security when something goes wrong. But with a few simple changes during setup, you can avoid a lot of frustration— and potential damage —down the line. These aren’t changes only an engineer can handle; even someone new to Windows can make them. You don’t need to be a cybersecurity expert to take control of your privacy. Whether it’s reviewing which apps have access to your microphone or enabling BitLocker to encrypt your data, the time invested is absolutely worth it. It’s easy to put off these settings for later, but in my experience, doing it right from the start saves you a lot of trouble and reduces what you have to worry about in the long run.
Read the full article here